 Skip to content
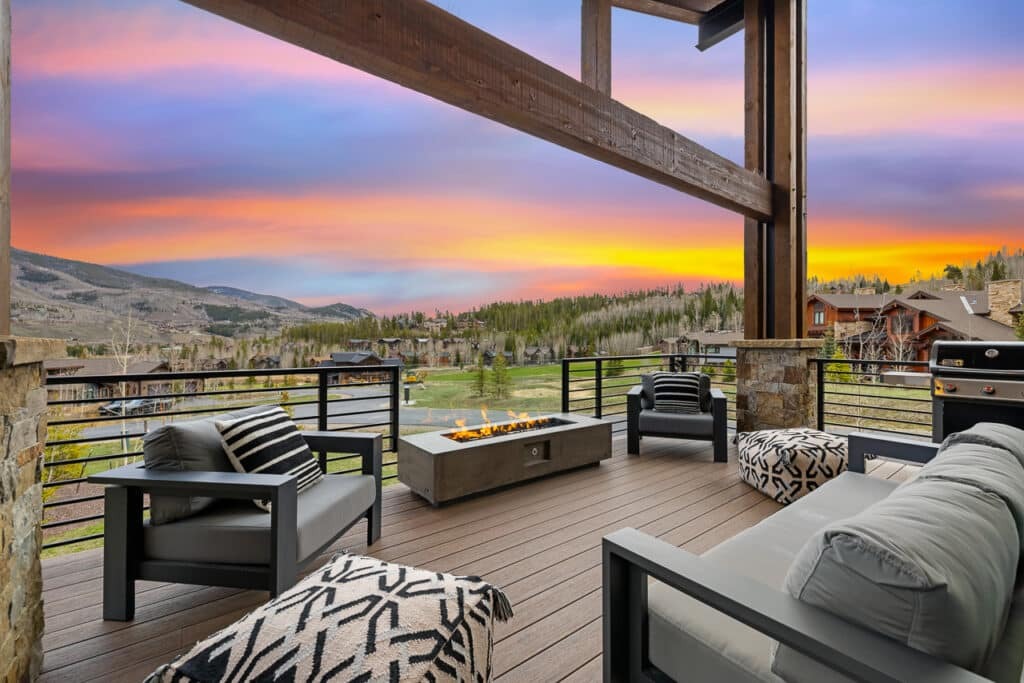
This is a low-pressure test shoot designed to give us a clear understanding of how you currently photograph spaces.
We are not expecting perfect results. The goal is to see how you approach composition, exposure, and lighting so we can identify strengths and areas for improvement during in-person training.
That said, this assignment also helps us determine whether your shooting style and workflow are a good fit for Timothy Faust Photography. Most applicants who complete this thoughtfully will move forward, and if something is off, we will provide feedback and may ask for a revision.
Take your time, follow the guidelines below, and do your best to create clean, consistent images. Refer to our portfolio to see the type and style of images we deliver.
Assignment Overview
Photograph a home or apartment. From the following, include at least one vertical/portrait composition, and one single point perspective composition. The location can be:
- Your own space
- A friend’s home
- A rental property
Deliver exactly 10 images that follow the guidelines below.
All images should be:
- Captured using a DSLR or mirrorless camera
- Lens and focal length are up to you, but we find a 16-35mm lens on a full frame body to be the most useful
- Shot on a tripod
- Captured using HDR bracketing plus one flash exposure per composition
- Delivered as high-quality JPEGs (straight out of camera, no editing)
Required Image List (10 Total)
Your 10 images must include at least:
- 1 Exterior
- 1 Living area
- 1 Kitchen
- 1 Bathroom
- 1 Bedroom
- 1 Community or lifestyle feature
(pool, playground, clubhouse, patio, etc.) - 1 Detail shot
(fireplace, finishes, fixtures, etc.)- Should highlight a feature
- Not so tight that context is lost
- 1 Twilight image
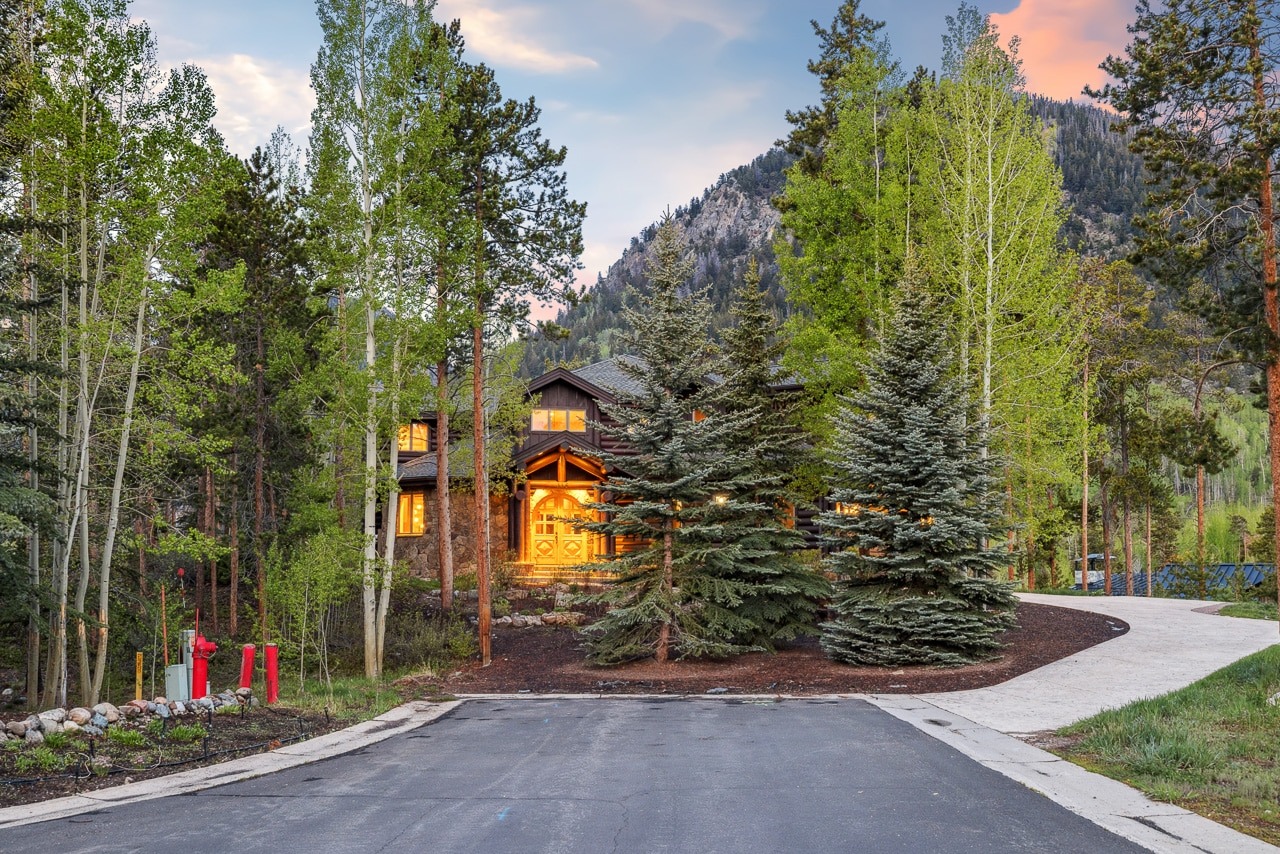
- 1 Hero Shot
- Typically the front exterior
- Can be another scene if it is stronger
- 1 Drone Shot (only if you would like to be considered for drone photography)
Example Images
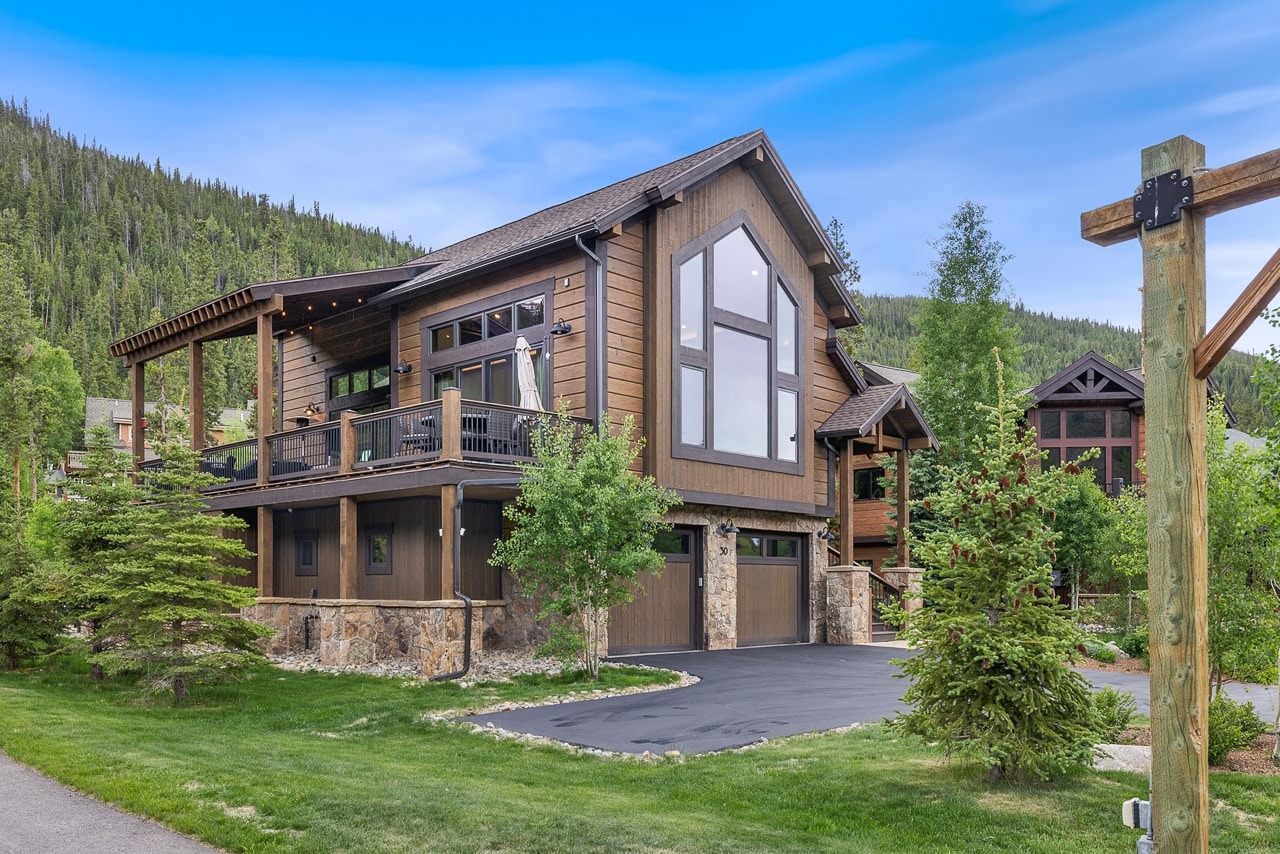
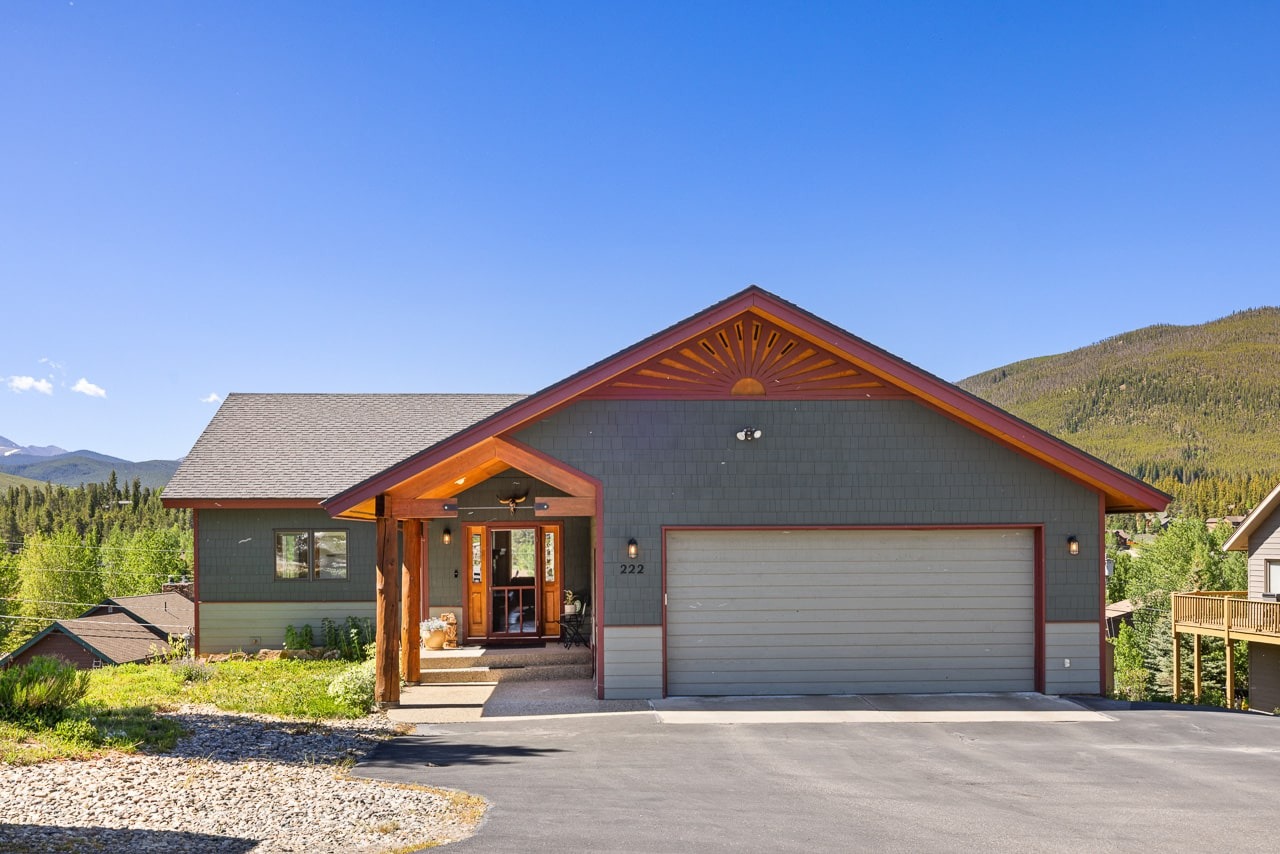
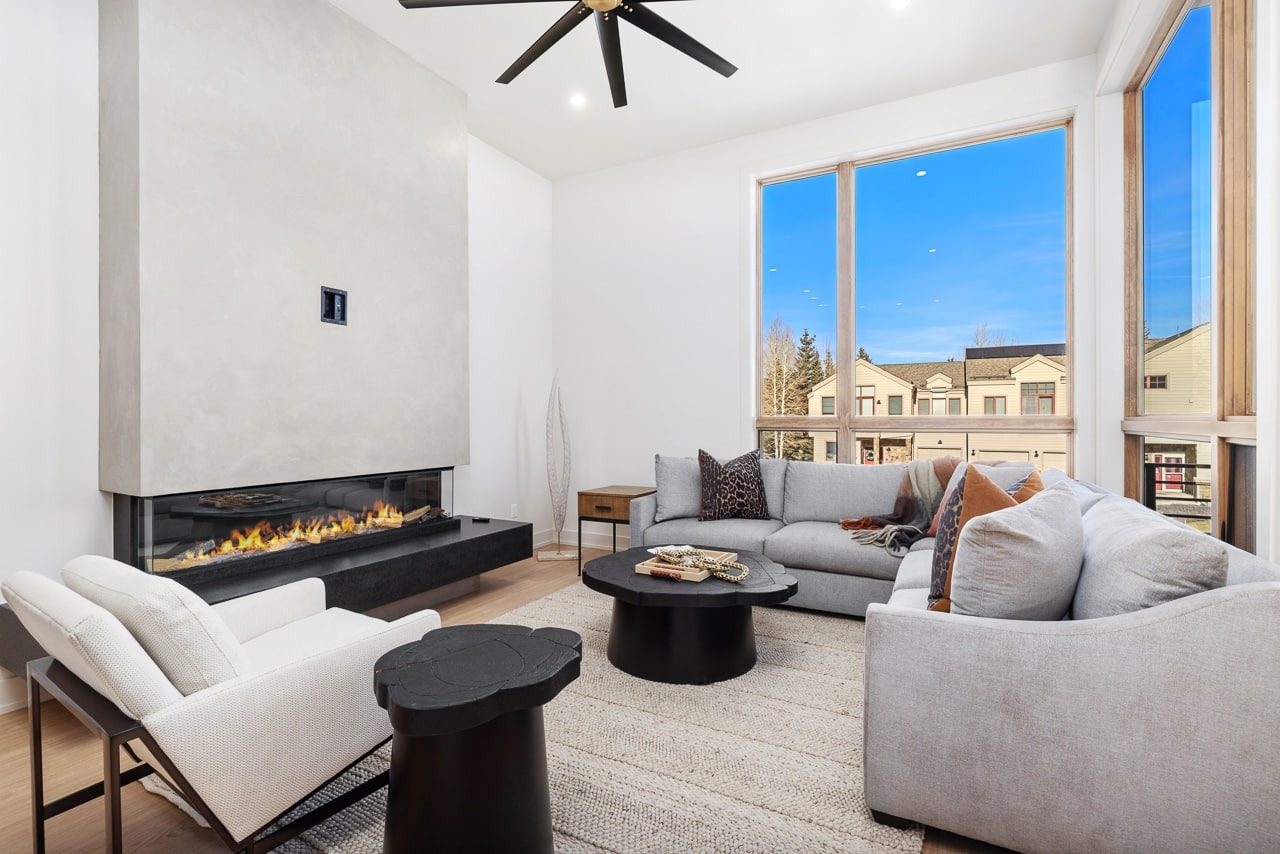
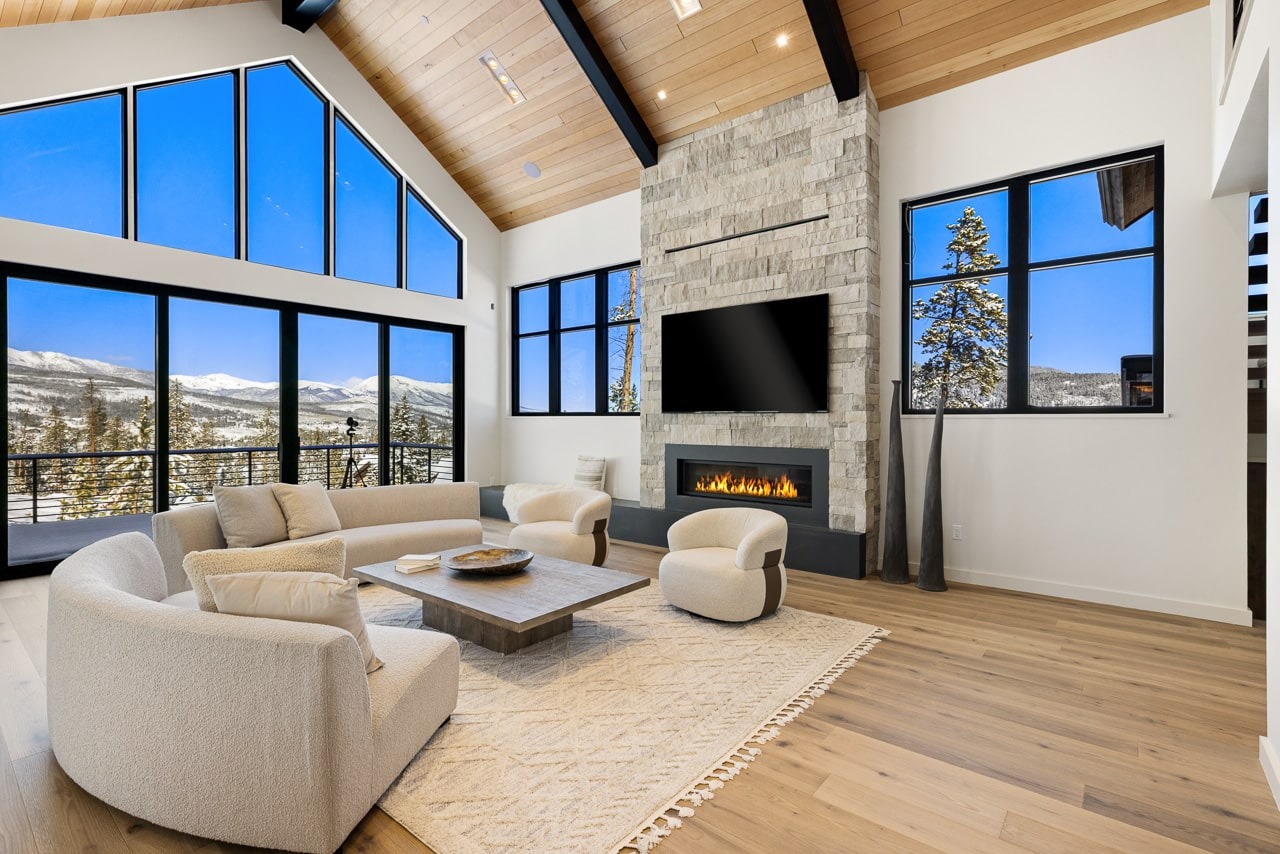
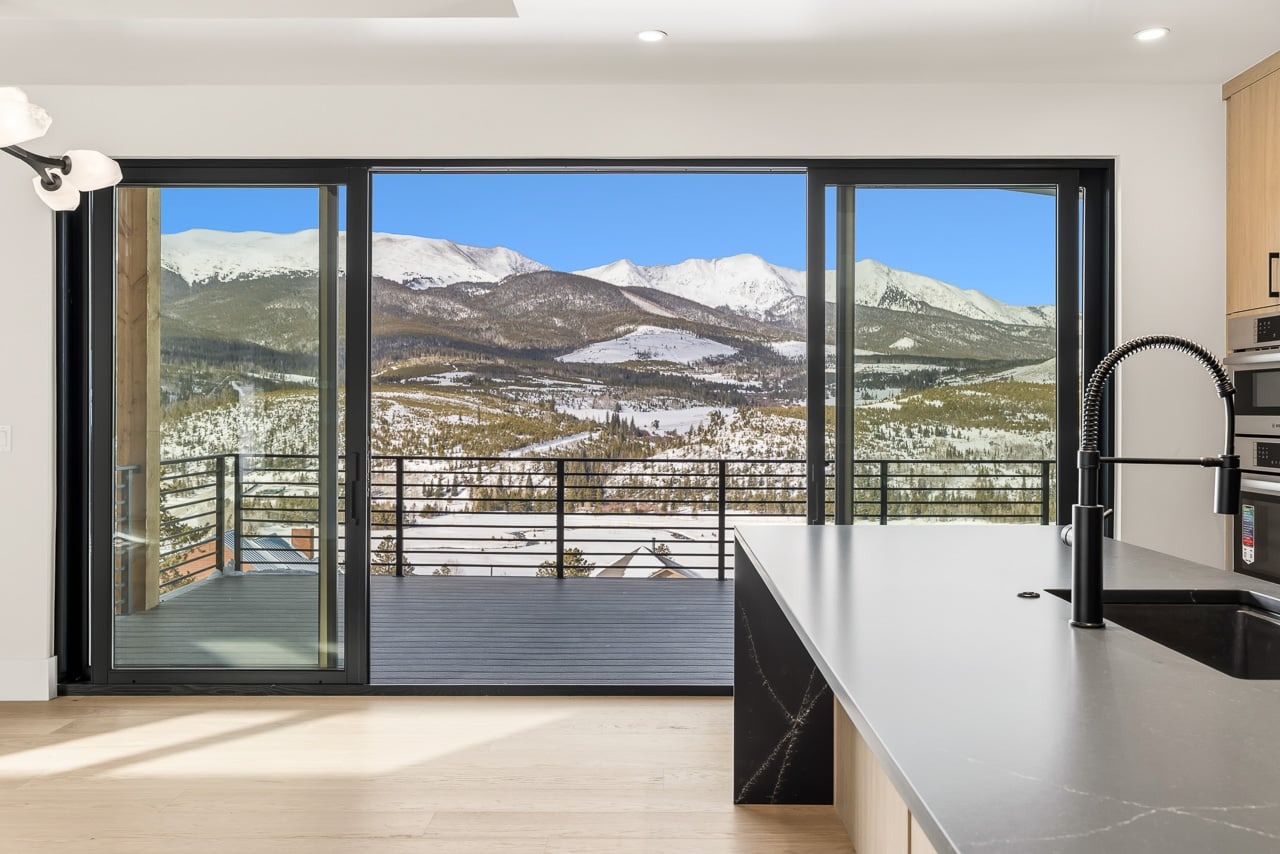
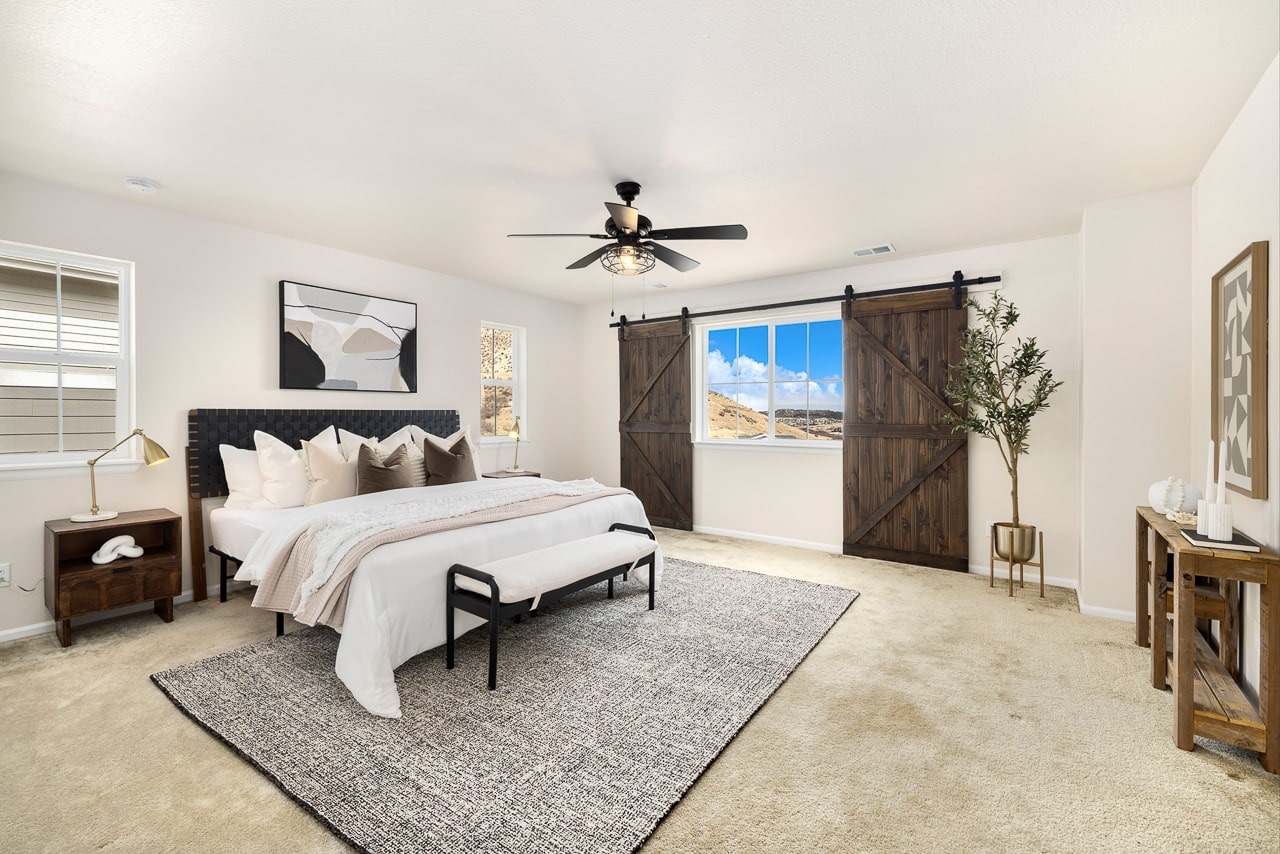
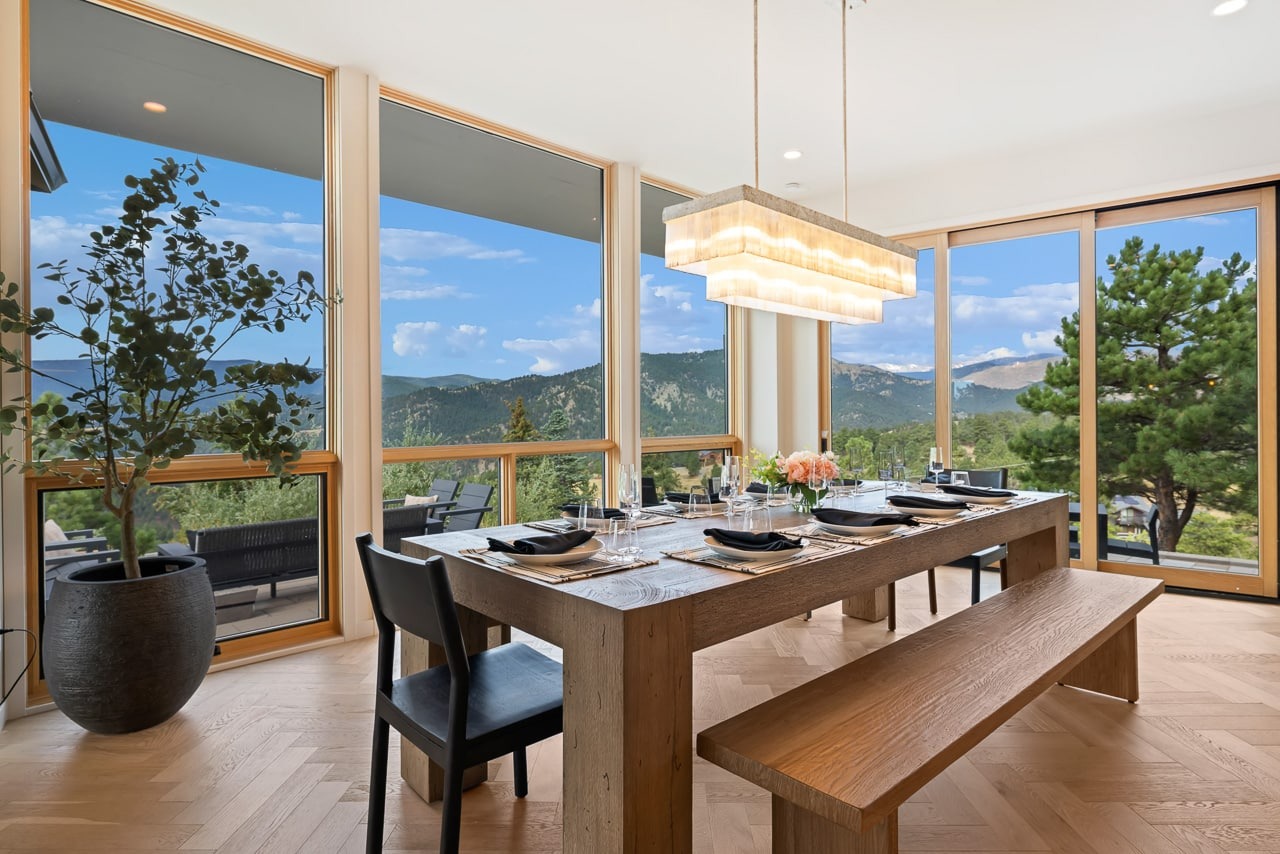
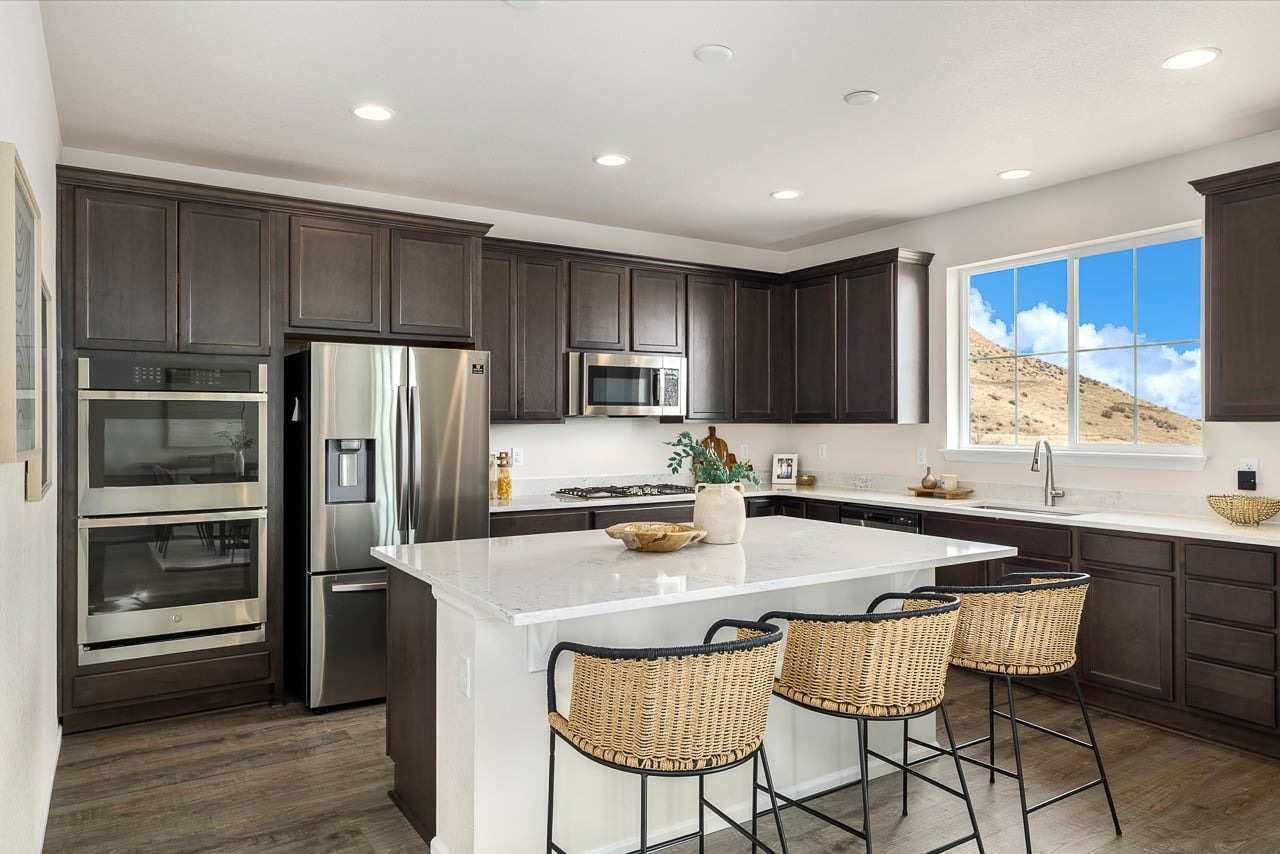
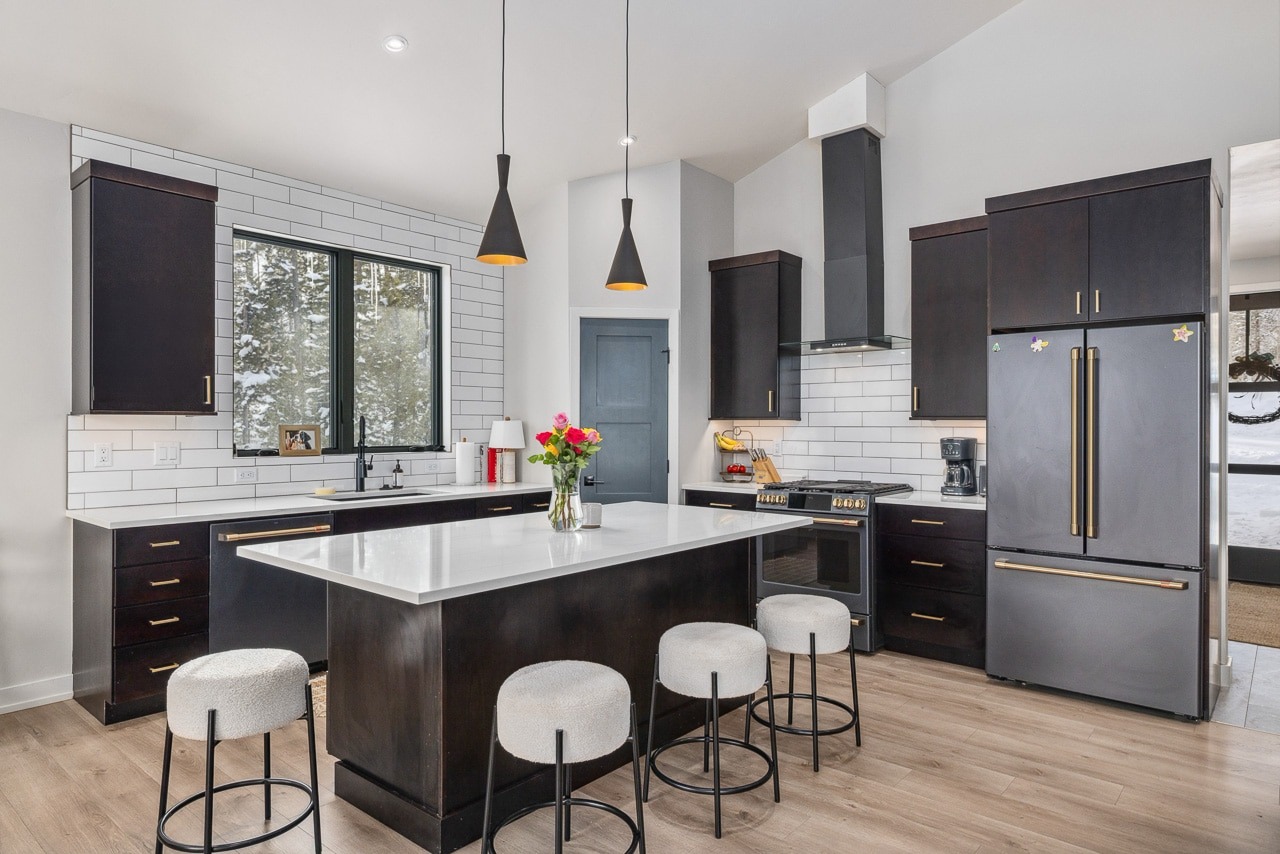
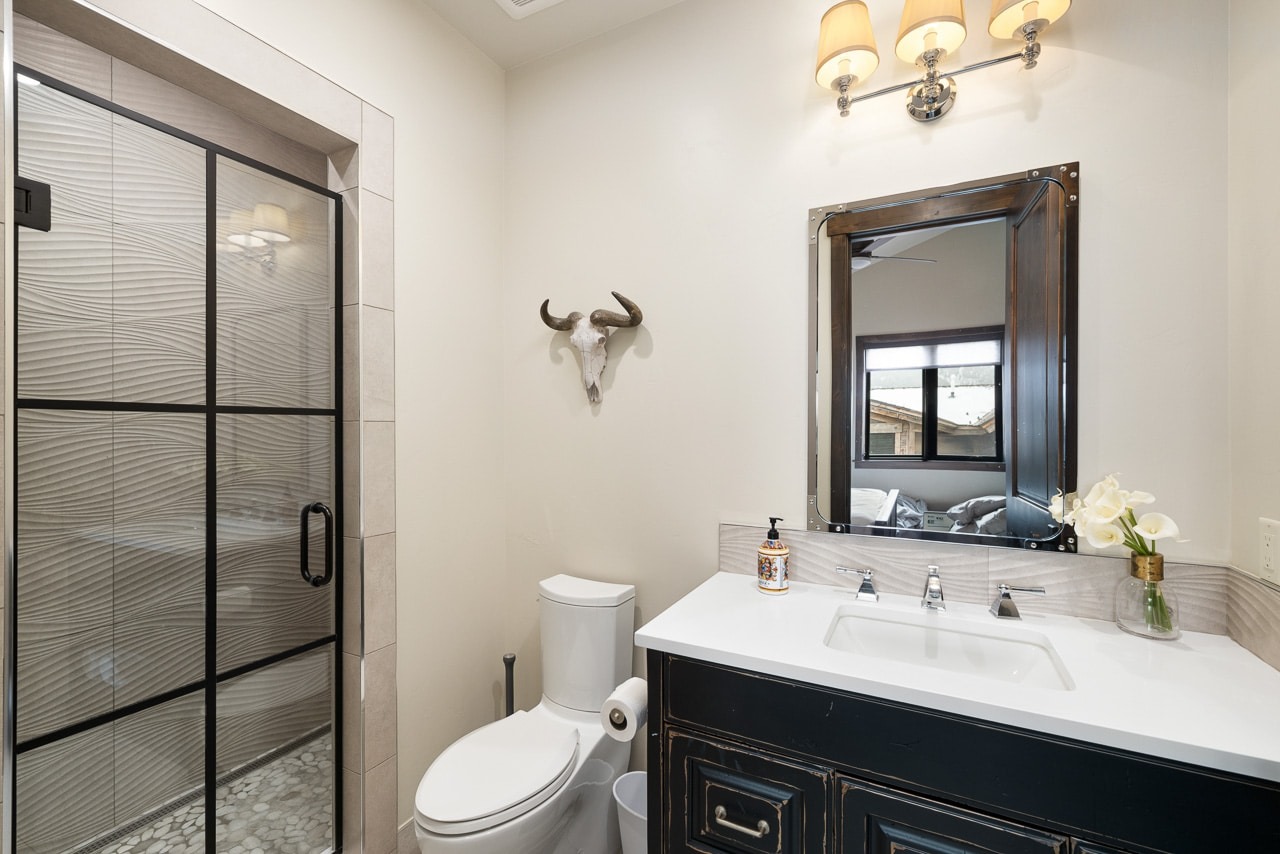
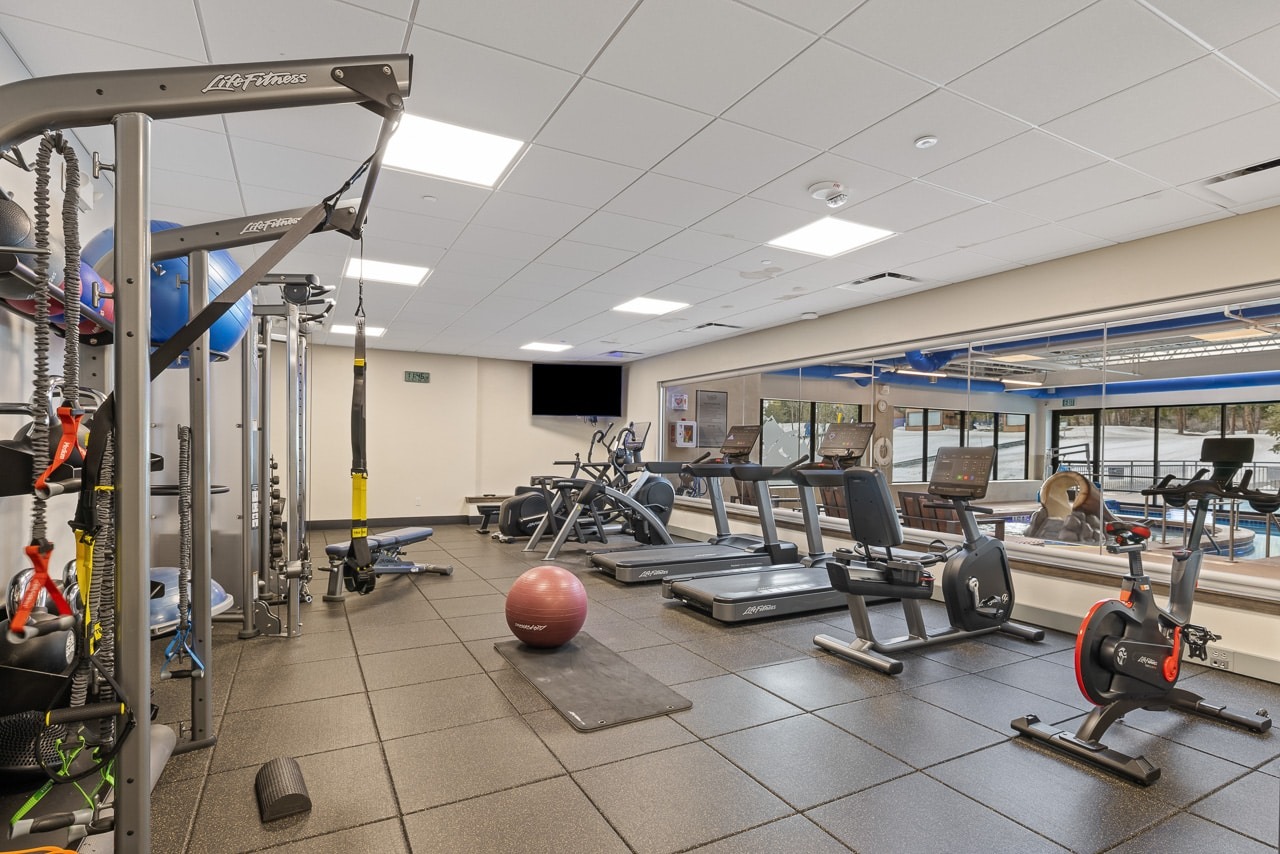
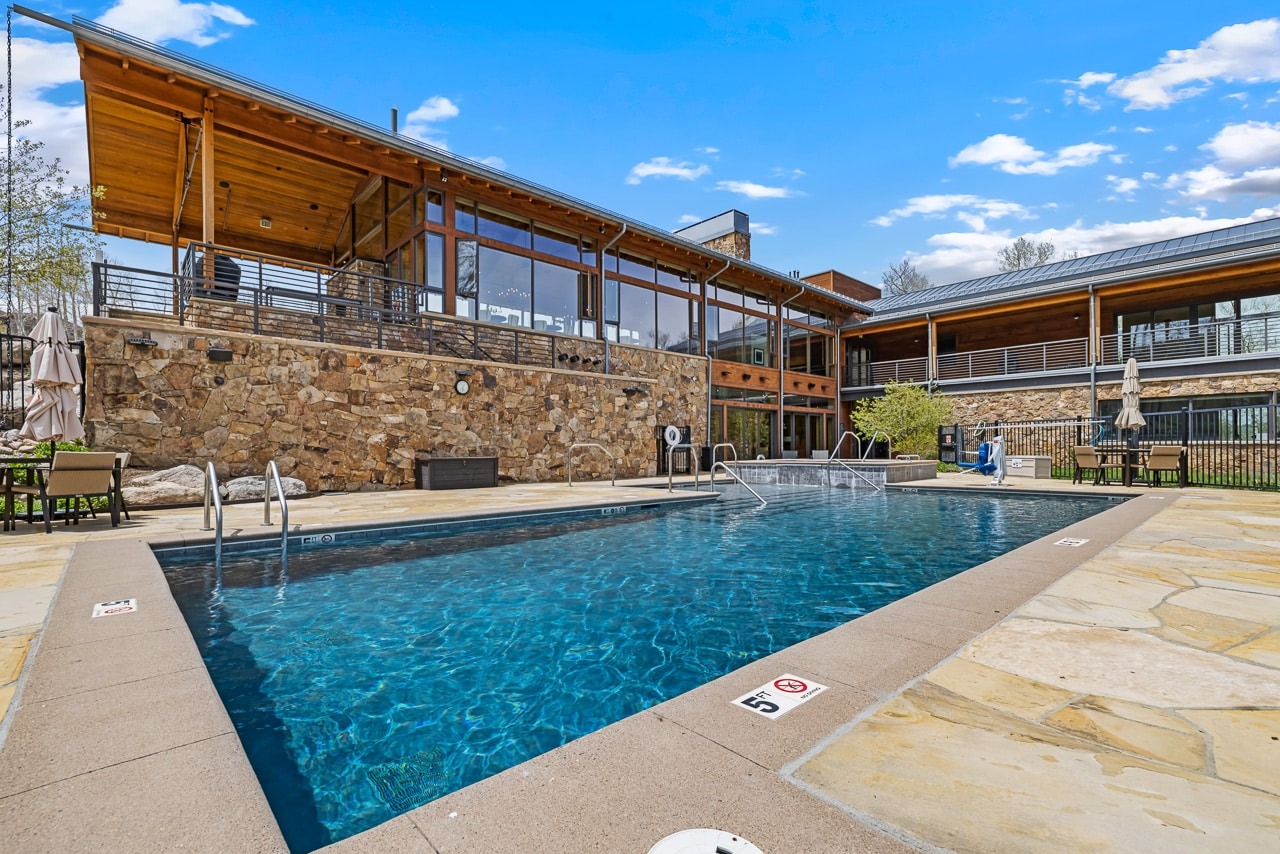
Hero Image Requirement
One of your 10 images should be your hero image.
Definition:
The hero image is the first image a buyer would see in a listing—the most eye-catching, marketable photo that draws someone into the property.
- This is typically a twilight exterior, but not always
- If another image is stronger, use that instead
Important:
Clearly identify your hero image by including the filenames of your hero image in your delivery email.
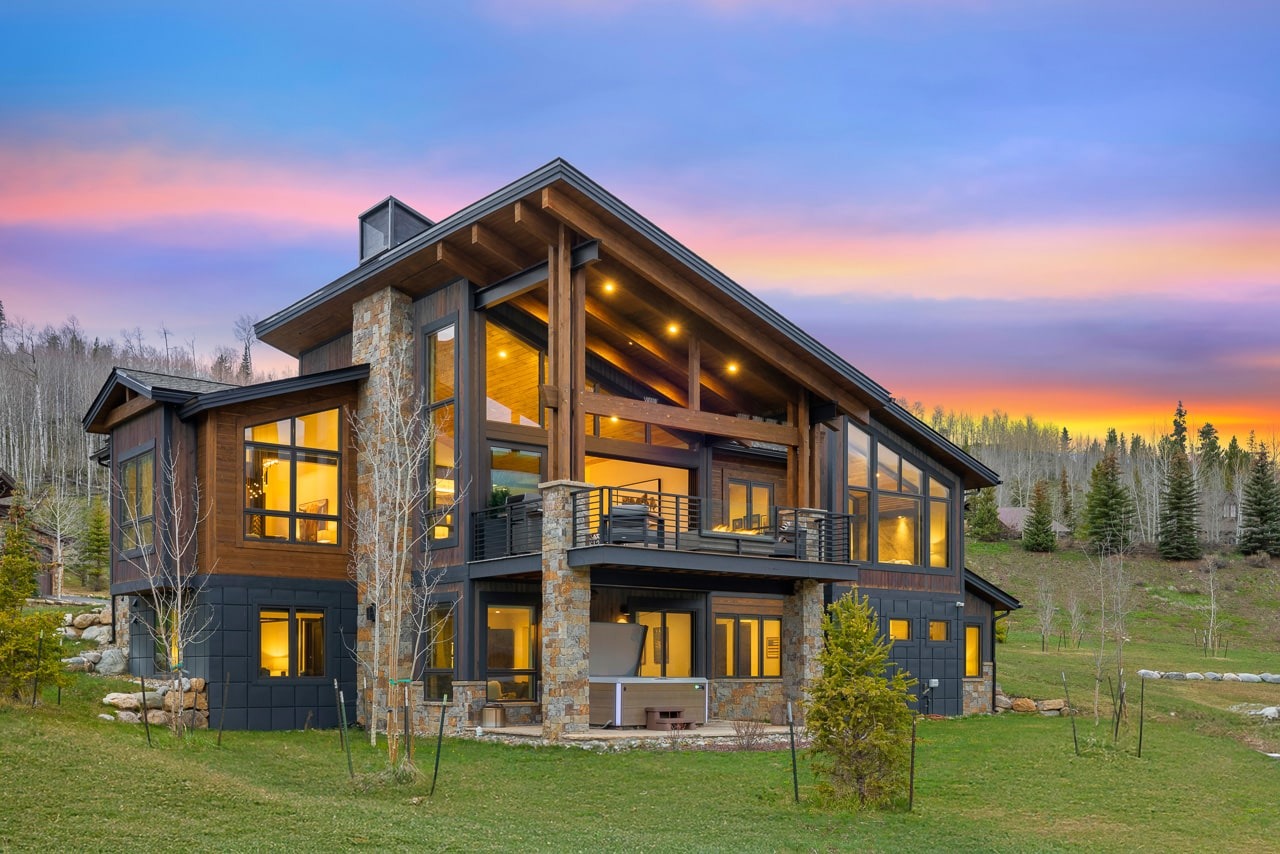
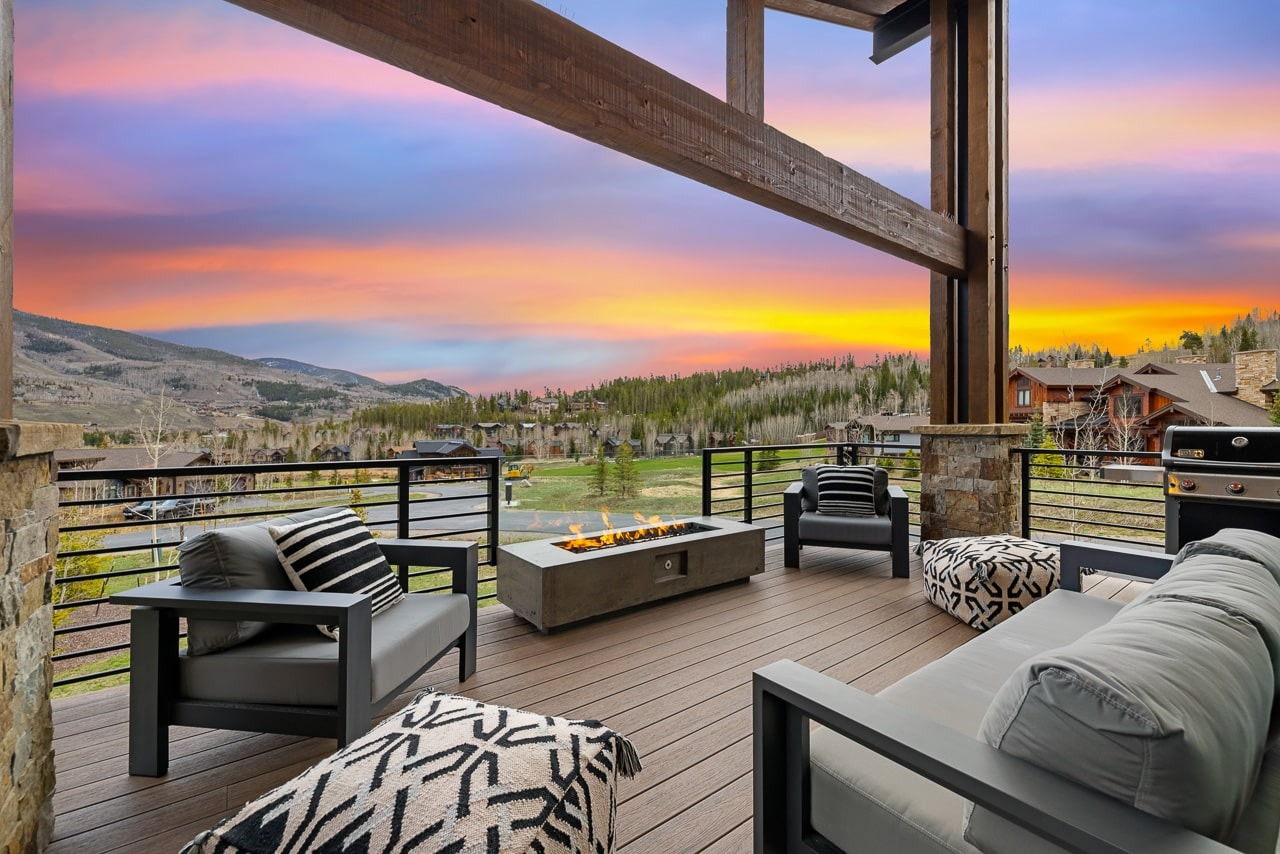
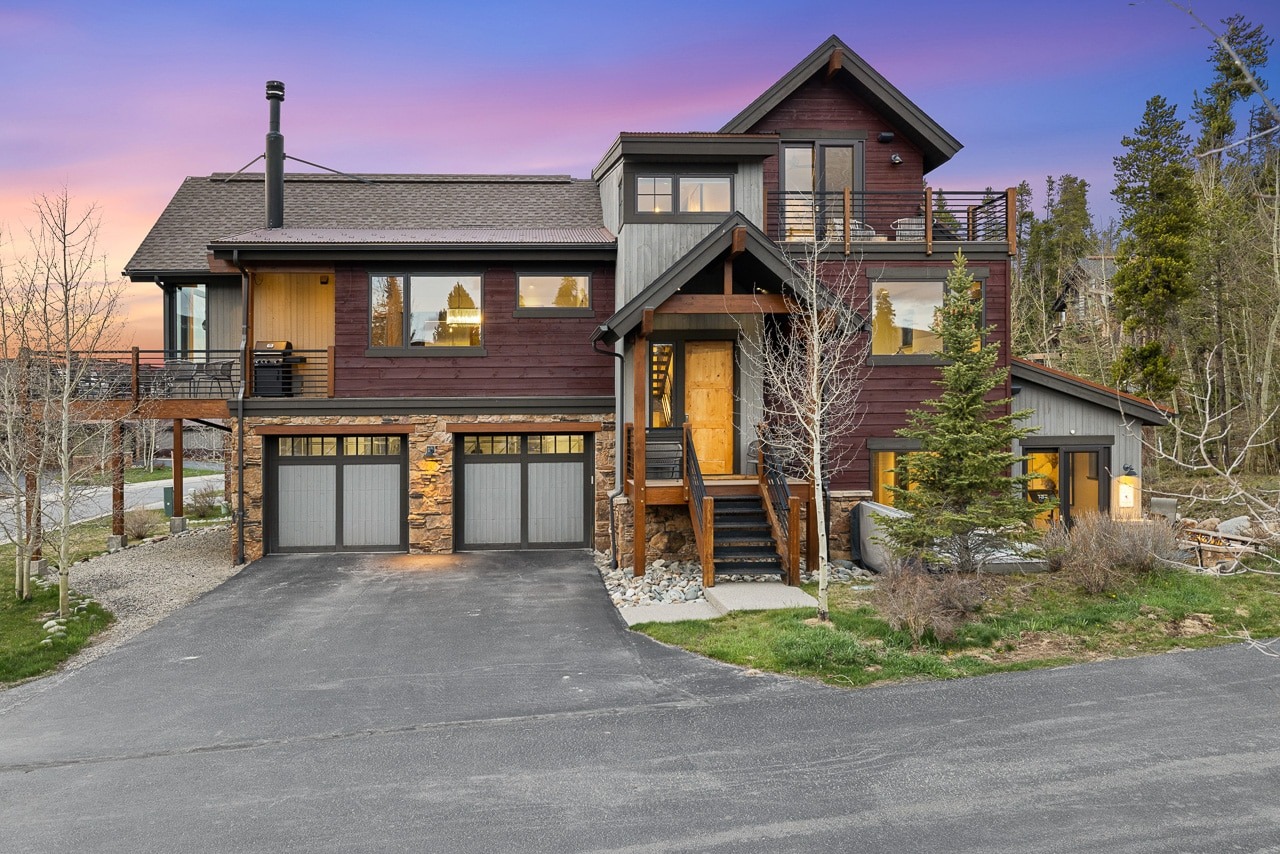
Capture Guidelines (HDR + Flash)
These are the standards we use for all shoots. Follow them as closely as possible.
Camera Setup
- Use a sturdy tripod for every shot
- Shoot in Manual mode
- ISO: 200–400
- Aperture: f/8 – f/10
- Use a 2-second timer or remote (to avoid camera shake)
Bracketing (HDR)
- Capture 3–5 bracketed exposures
- 2-stop increments
- Use AEB or manual bracketing
- Do not use in-camera HDR mode
Flash Exposure
For each interior composition, capture one additional flash frame:
- Use the same aperture as your bracketed shots
- Set shutter speed to max sync speed (~1/200s)
- Adjust ISO as needed to reduce ambient light influence
- We recommend using a Godox AD200 and remote trigger
Goal:
A clean, controlled exposure where:
- Interior colors are neutral
- Window views are visible
- Light feels natural and not overly directional
Flash Technique
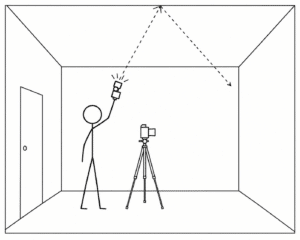
- Bounce flash off the ceiling, or
- Keep it close to the camera axis
Avoid strong side-lighting that creates unnatural shadows.
Reflections
If flash creates reflections in windows or mirrors:
- Capture an additional frame without flash at the same settings
Composition & Technique
Use the diagrams on this page as your guide for:
- Camera height
- Leveling (vertical lines must remain straight)
- Single-point vs two-point perspective
- Proper framing and room coverage
- Do not worry about getting the camera in reflections, but use the timer to avoid your body getting in them.
- We can remove reflection in editing so always choose the best composition for the space.
These are not suggestions—this is the standard we shoot to.
Camera Height
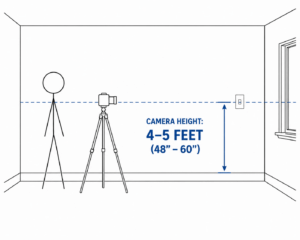
In most cases the camera should be placed at a height of 4-5 feet or approximately the same height as light switches
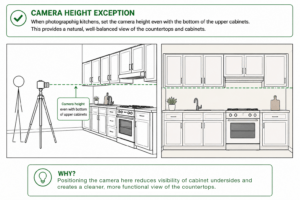
Camera Height Exceptions
- Especially in kitchens, the camera should be higher, and level with the bottom of the cabinets.
- For bathrooms, the camera should be higher to show more of the vanity, but not so high as to reveal the drain or cut off the basin.
- For exteriors, the camera should be has high as possible to avoid tilting the camera up more than necessary.
- For pools, the camera can be lower, and closer to the water.
Camera Position
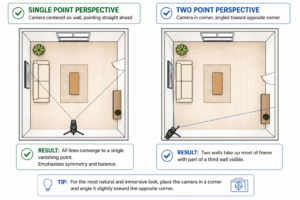
- For most images, the camera should be in the corner of the room to create a two-point perspective photo.
- It can be placed in the center for a single point perspective when that is more visually appealing
Two Point Perspective
- For most images, a two point perspective image is preferred.
- The name comes from lines in the room converging toward two vanishing points when the camera is angled across the space.
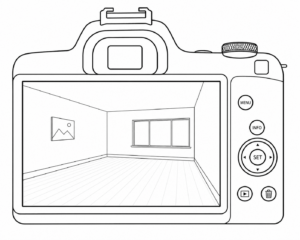
- The camera should be placed in a corner and tilted so that two walls are shown prominently, and a bit of a third wall is shown in order to make the room look as large as possible.
- Notice the third wall in this diagram which takes up less than 25% of the composition.
Missing Third Wall
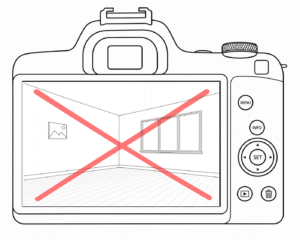
- Notice in this example, the camera is rotated to the left, and there is no third wall visible in the frame
- It makes the room look smaller
- Only use these compositions if including a third wall is impossible
Single Point Perspective
- The name comes from all lines in the room converging toward one vanishing point when the camera faces straight ahead.
- Use when the space is symmetrical or has a strong central feature (bed, fireplace, large window, hallway)
- Best for clean, balanced compositions
- Works well when you want a “designed” or architectural feel
- Best used sparingly, and required precise camera position
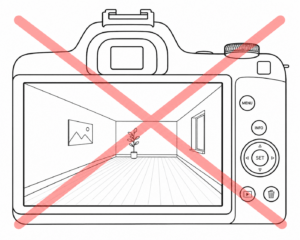
Single Point Perspective Mistakes
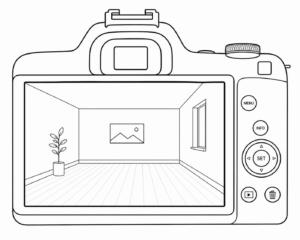
- Precise camera placement is critical
- In this example, the camera is placed too far to the right making the image look off balance
- This can sometimes work situationally, but use sparingly.
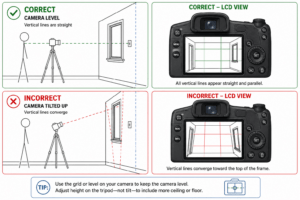
Camera Leveling
- It is critical for the camera to be perfectly level to ensure vertical lines are parallel
- This can be adjusted in post when absolutely necessary
- Large rooms with high ceilings
- Exterior views where the camera must be tilted up to show the entire building
- Shoot wider if you need to tilt the camera to allow room for cropping
File Delivery
- Upload all 10 images to Dropbox
- Include all 4-6 bracketed frames for each image
- Do not do any editing
- Share a link with tfaust@timothyfaust.com when complete
- Also include what days work best for you in the upcoming weeks for paid in person training.
- Files should be:
- Full resolution
- High-quality JPEG
Final Note
This assignment is meant to reflect how you naturally shoot while working within our system.
We’re looking for:
- Consistency
- Attention to detail
- Ability to follow a defined process
If something isn’t perfect, that’s okay—that’s what training is for. We aren’t looking at your ability to clean your home either. Just looking for your ability to shoot and follow instructions.
Focus on clean execution, and we’ll take it from there.
Lastly, this is just a test shoot, but if you want to get a better understanding of what an actual paid shoot looks like, you can view our comprehensive guidelines at www.timothyfaust.com/photographer-resources/
